
What you need:
- a photo of the shop window you are going to design
- tracing paper
- 2x binder clips
- pencil
- ruler
- color pencils
- eraser (just in case)
 |
| Gather the tools. I use a mechanical pencil, this one is from Muji *one of my favorite stores. |
 |
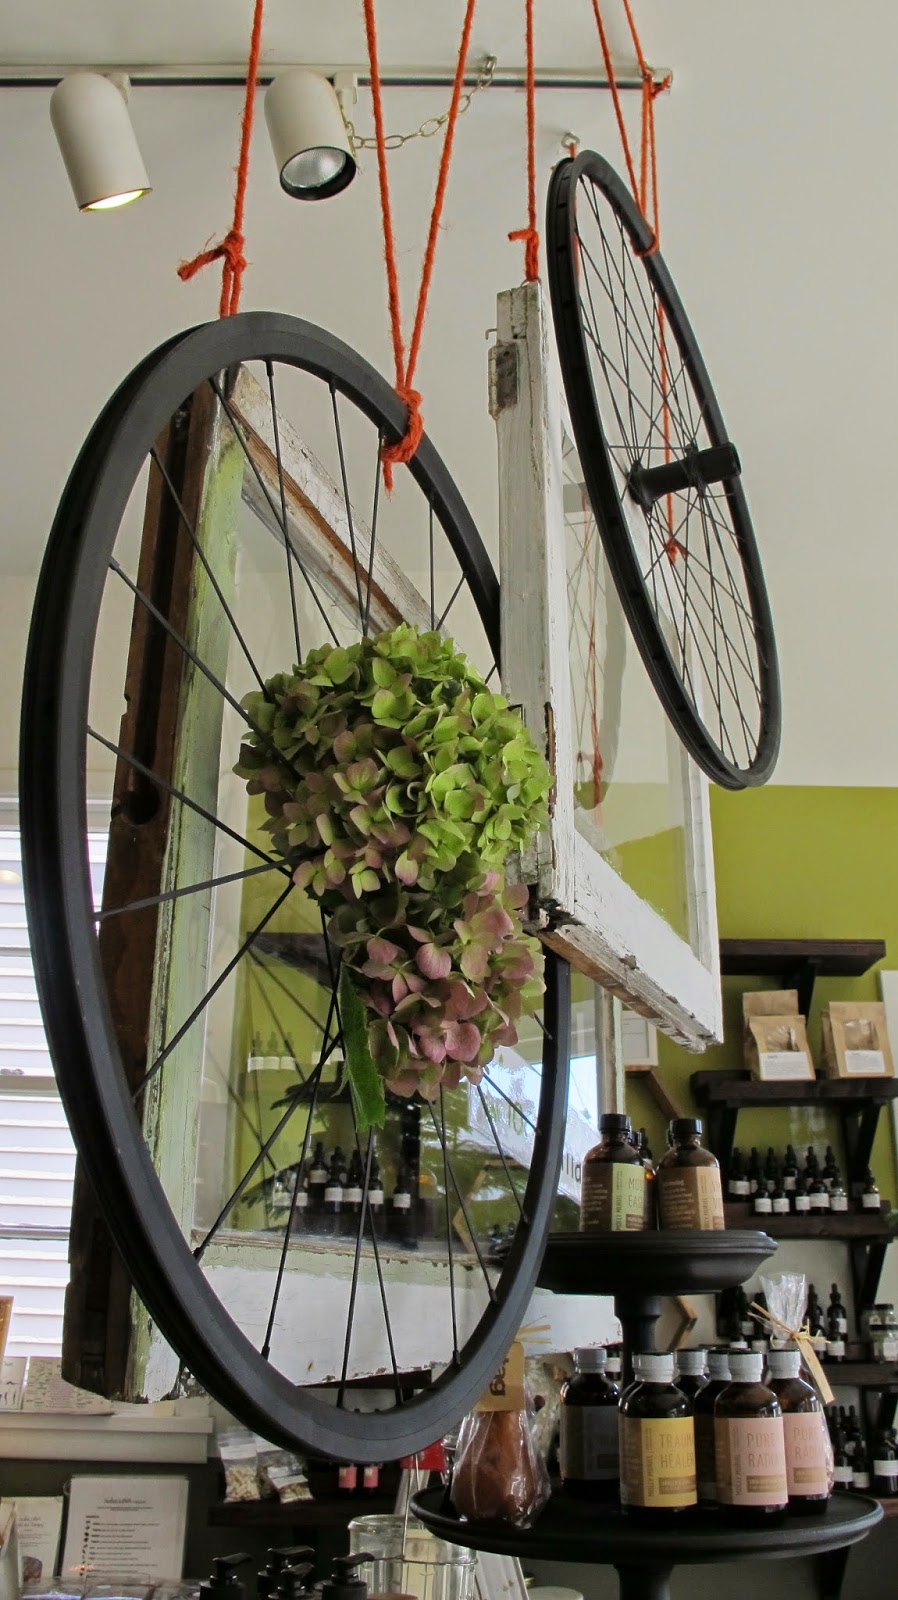
| A photo of the window..... |
 |
| tracing paper ( available at office depot) |
 |
| place tracing paper over photo... |
 |
| ......and secure with binder clips |
 |
| user your mechanical pencil to draw the outline of the window onto the tracing paper..... |
 |
| ......take the tracing paper off..... |
 |
| ....now start drawing in fixtures or furniture you might have on your mind or that already exist in the window. |
 |
| add sketches of props.... |
 |
| and more ideas.... like painting a frame drawn on the window with a glass marker |
 |
| and more layers and more layers ..... Here I bring in the color pencils ;) I usually do this whole process 2 or 3 times until I have my visual picture completed. After that I go into prop design........... (See my next post coming out in the end of November: Shop Window Styling 101: creating props ) GOOD LUCK !!! And feel free to ask me any question ... *Ullika* |


